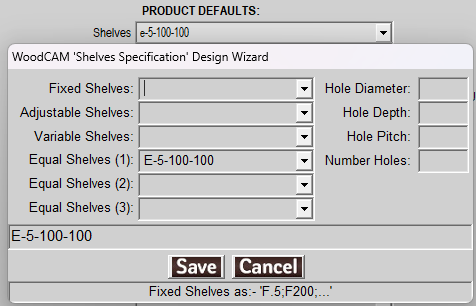
That will bring up the Shelves Specification wizard as shown in the below picture.

Please note: Below string is an example, ensure you're entering the correct string depending on your shelf amount.
The following string will create multiple adjustable hole sections on a panel, specific to each shelf in the cabinet, as shown below.
String: A.2;A.4;A.6;A.8
Ensure you add in the Hole Pitch (distance between each hole) and the number of holes in each section.

The above string, hole pitch and number of holes will achieve the below pictures results.

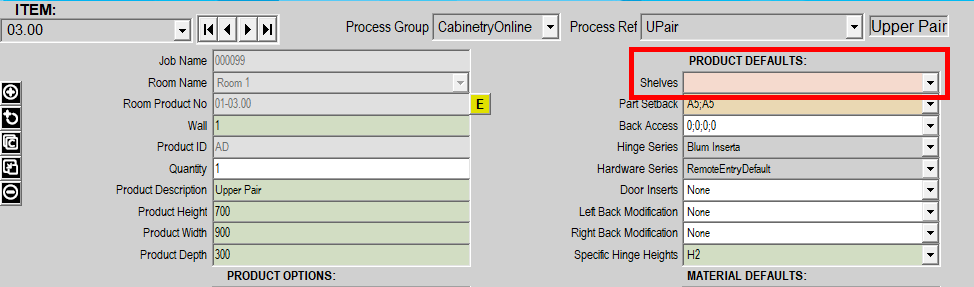
Complete the previous steps of clicking into the Shelves section and pressing the Insert key to bring up the Shelves Specification wizard. 
String: E-5-100-100
5 = The number of shelves you want to add to the cabinet (can be changed to what you want)
100 = First number represents the start point for the adjustable shelf holes from the bottom, start this at 32 if you want to go from the bottom
100 = Second number represents the end point for the adjustable shelf holes from the top
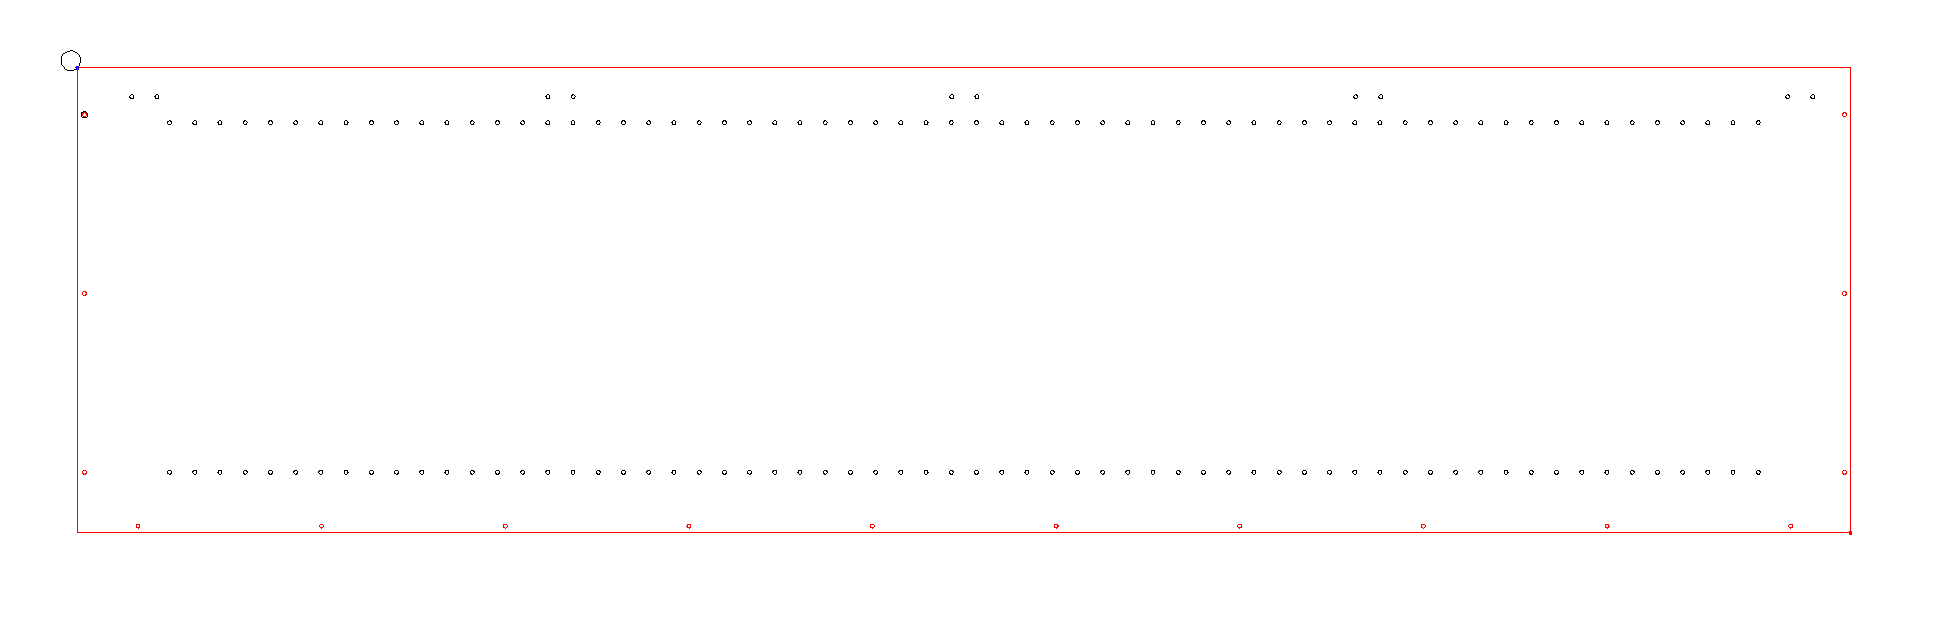
The below image are the results of the above string.

Was this article helpful?
That’s Great!
Thank you for your feedback
Sorry! We couldn't be helpful
Thank you for your feedback
Feedback sent
We appreciate your effort and will try to fix the article