Step 1: Review Existing Board Sizes
- Ensure you are in the Control Panel.
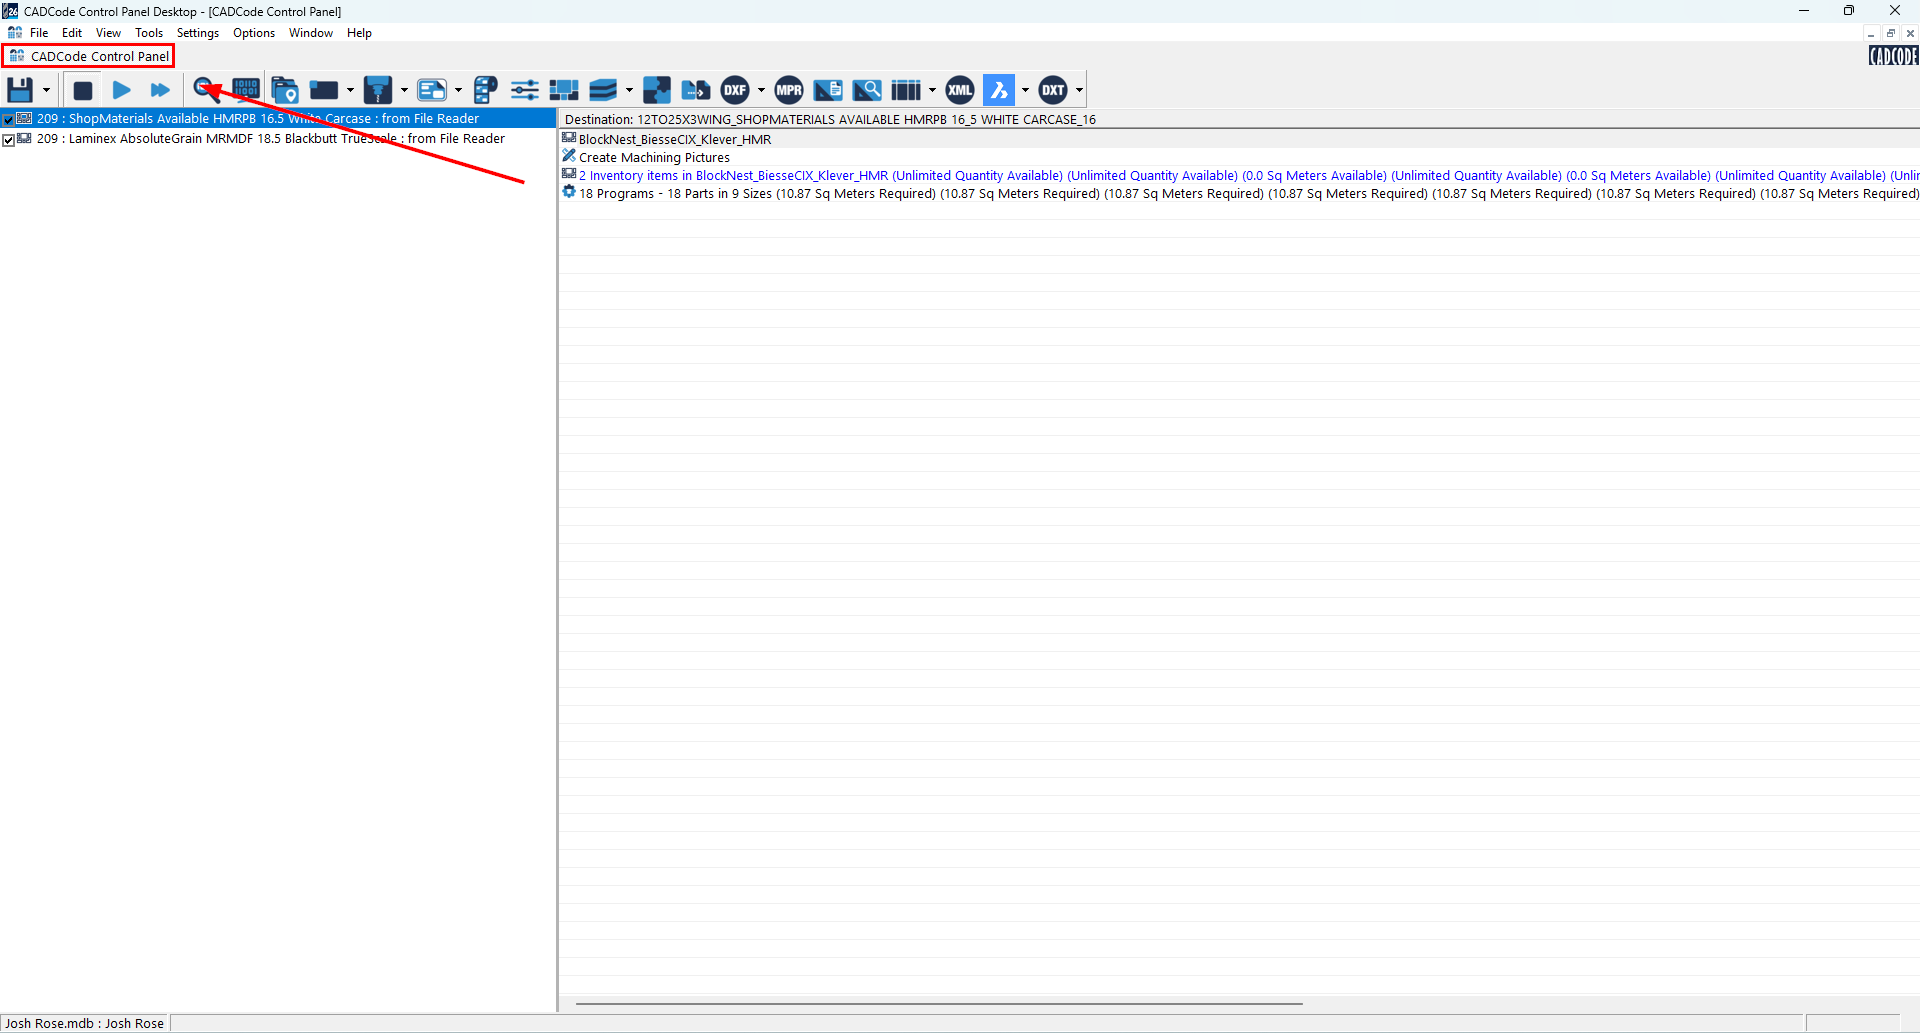
- Double-click the material to expand it.
- Double-click Inventory Items to view the currently available board sizes for that material.
This allows you to see the sizes that are already configured.
Once here double click the material to expand it, then do the same for the Inventory items.
Here you will be able to see the available sizes for the selected material.
Now, up the top select Settings > Master Inventory.
Find the material you want to add an additional size to, and double click to expand it.
Then select an already available size, then up the top click Copy > Paste.
Select the copy you have created, and on the right change the following fields:
- Width
- Length
- Priority - 2
- Length
- Priority - 2
- Available - False
Once this has been done, click save in the top left and head back to the control panel.
Now, when processing a job, you can check which size board you would like to nest your parts on to.
Was this article helpful?
That’s Great!
Thank you for your feedback
Sorry! We couldn't be helpful
Thank you for your feedback
Feedback sent
We appreciate your effort and will try to fix the article